Imagine stepping into a room with beautiful tongue and groove wall boards, only to find a few have been damaged due to water exposure or minor accidents. The thought of replacing an entire wall can be overwhelming, but it doesn’t have to be. Replacing damaged tongue and groove wall boards individually is not only possible, but it can also save you time and money, allowing you to maintain the aesthetic appeal of your space.
This article will guide you through the process of replacing individual tongue and groove wall boards. You’ll learn about the tools you’ll need, the steps to take, and some pro tips to ensure a seamless repair. Whether you’re a DIY enthusiast or a homeowner looking to maintain your property, this guide will empower you with the knowledge to tackle this project confidently.
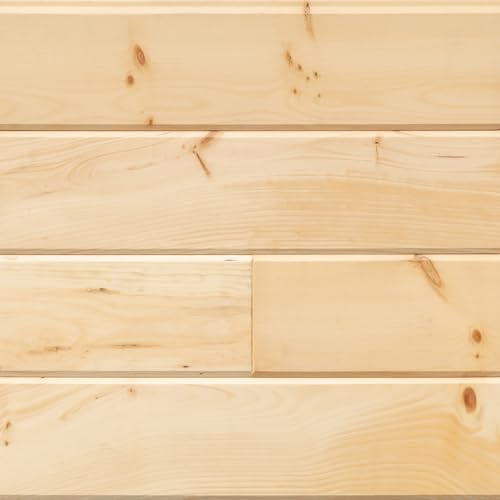
Kimberly Bay
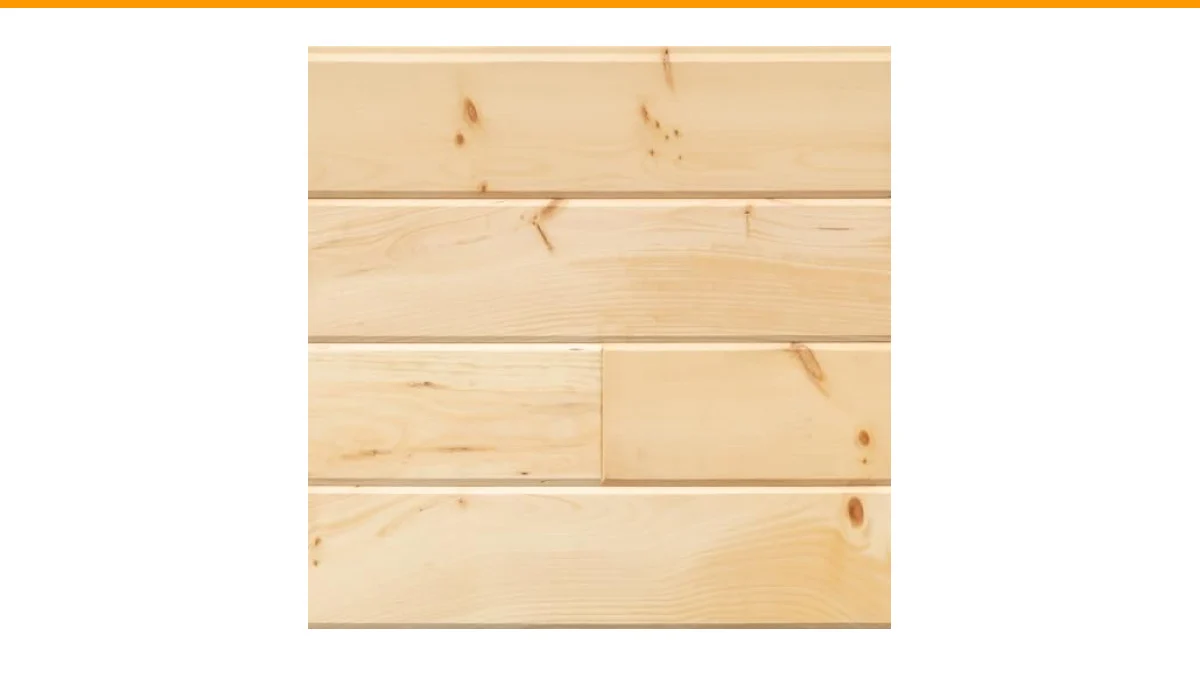
Prestige Smooth Finish Pine Tongue & Groove Boards Clear (8-Piece)
- Finished
- Tongue and groove
- V-Groove. end matched
If you’re in need of replacement boards, consider the Prestige Smooth Finish Pine Tongue & Groove Boards by Kimberly Bay. These finished, end-matched boards come in packs of eight, covering 22 square feet of wall space. They provide an excellent option for anyone looking to maintain the integrity of their tongue and groove installations.
 How To Repair Damaged Laminate Flooring Boards #diy #asmr #shortsWatch on YouTube
Understanding Tongue and Groove Boards
Tongue and groove boards have a unique interlocking design that allows for easy installation and a tight fit. Each board has a tongue on one edge and a groove on the other, enabling them to lock together seamlessly. This design not only enhances the aesthetic appeal but also provides structural integrity and helps to insulate against moisture and sound.
When it comes to repairs, the interlocking nature of tongue and groove boards can make replacing a single board challenging. However, with the right approach, you can achieve a clean and professional-looking repair.
Tools and Materials Needed
Before you begin, gather the necessary tools and materials:
- Circular saw or hand saw
- Hammer
- Pry bar
- Measuring tape
- Wood glue (optional)
- Replacement tongue and groove boards
- Finish nails or screws
- Paint or stain (if needed)
Step-by-Step Guide to Replacing Individual Boards
Follow these steps to successfully replace a damaged tongue and groove wall board:
- Identify the Damaged Board: Examine your wall to pinpoint the damaged board. Ensure it’s the only one that needs replacing.
- Remove the Damaged Board: Use a pry bar to gently lift the damaged board from the wall. Start at one end and work your way along to avoid breaking adjacent boards.
- Measure and Cut the Replacement Board: Measure the length of the removed board. Cut your replacement tongue and groove board to match this length, ensuring the cut is straight.
- Prepare the Replacement Board: If necessary, sand the edges of the new board to ensure a smooth fit. If you’re using wood glue, apply it along the tongue of the board.
- Install the Replacement Board: Align the tongue of the new board with the groove of the adjacent board. Push it into place until it clicks. If using nails or screws, secure the board through its face or edge.
- Finish the Installation: If the new board is unfinished, apply paint or stain to match the surrounding boards. Allow it to dry completely.
Pro Tips for a Flawless Finish
- Take your time when removing the damaged board to avoid damaging neighboring boards.
- Use a saw with a fine tooth blade for a cleaner cut on the replacement board.
- Consider moisture-proofing the new board if it will be in a high-humidity area.
Comparison of Replacement Methods
| Method | Difficulty | Time Required | Cost |
|---|---|---|---|
| Replacing Individual Board | Moderate | 1-2 hours | Low |
| Replacing Entire Wall | High | 1-2 days | High |
| Repairing with Patching Compound | Low | 30 minutes | Very Low |
Frequently Asked Questions
Can you replace damaged tongue and groove wall boards individually?
Yes, you can replace damaged tongue and groove wall boards individually. This method allows for targeted repairs without the need to replace entire sections, saving both time and money.
What tools do I need to replace a tongue and groove board?
You will need a saw, pry bar, hammer, measuring tape, wood glue (optional), and finish nails or screws. Having the right tools will make the process smoother.
How do I ensure a seamless fit with the new board?
Measure the length of the damaged board accurately and cut the new board to the same size. Sand the edges if necessary for a smoother fit.
What if the adjacent boards get damaged during removal?
Exercise caution when using a pry bar. If adjacent boards sustain minor damage, they can often be repaired or replaced alongside the damaged board.
Is it necessary to paint or stain the new board?
While it’s not strictly necessary, painting or staining the new board helps it blend with the surrounding boards and protects it from moisture damage.
Essential Takeaways
- Replacing damaged tongue and groove boards individually is feasible and practical.
- Gather the right tools before starting the project.
- Measure accurately to ensure a proper fit for the replacement board.
- Take your time during the removal process to avoid damaging adjacent boards.
- Consider using water-resistant finishes in moisture-prone areas.
- Practice patience and precision for a professional-looking result.
- Consult resources or guides if you’re unsure about the process.