Imagine stepping into your outdoor sauna after a long day, only to find the heat escaping because of a loose stove pipe connection. This frustrating situation can dampen your relaxation time and even pose safety risks. A properly secured stove pipe is vital for efficient heating and preventing smoke from entering your sauna. In this article, you’ll learn how to fix a loose stove pipe connection on your outdoor sauna heater, ensuring you enjoy a warm, cozy environment.
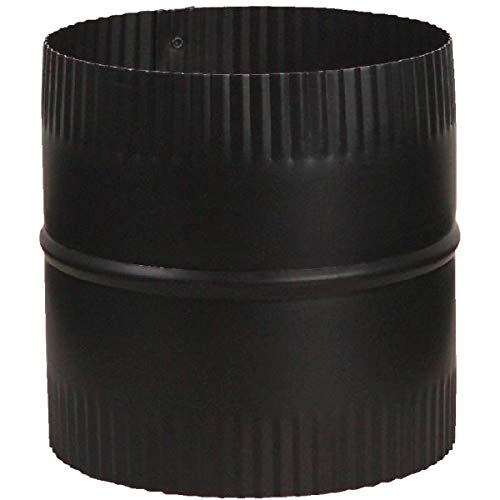
In many cases, a simple adjustment can solve the problem. However, sometimes you might need specific tools or products to secure the connection effectively. One such product you might consider is the Imperial Manufacturing Group Bm0049 8 Black Matte Double End Crimped Stovepipe Connector Union. This connector union is designed to provide a tight fit and reliable connection for your stove pipe.
Imperial
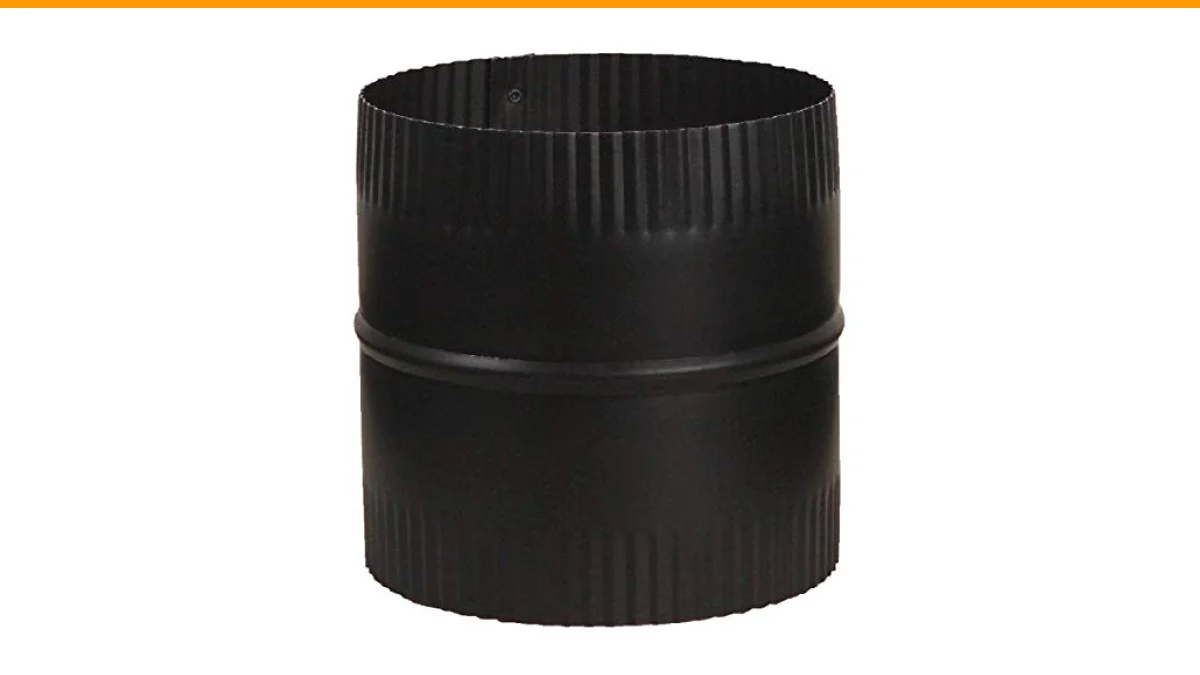
Imperial Manufacturing Group Bm0049 8 Black Matte Double End Crimped Stovepipe Connector Union
- Dia. & Length; 6in
- 24 ga.
 Quick Tip: Install Your Flue Pipe Adapter the Right Way! #tip #flue #stove #diy #reels #fypWatch on YouTube
Understanding the Basics of Stove Pipe Connections
Before diving into the repair process, it’s essential to understand how stove pipe connections work. A stove pipe carries smoke and gases from your heater outside, while ensuring that heat stays within your sauna. The connection points between the stove and the pipe need to be secure to prevent leaks.
Loose connections can arise due to various reasons, including thermal expansion and contraction of metal, wear and tear, or improper installation. Knowing this helps you identify the best method for fixing the issue.
Identifying the Problem
The first step in fixing a loose stove pipe connection is to identify where the problem lies. Follow these steps:
- Visual Inspection: Check the entire length of the stove pipe for any obvious gaps or loose fittings.
- Wiggle Test: Gently wiggle the stove pipe to see if it moves too easily at the connection points.
- Examine the Joints: Look closely at the joints where the pipe connects to the stove and where it joins other pipes. These are common trouble spots.
Once you’ve pinpointed the loose connection, you can choose a suitable method to fix it.
Methods to Fix a Loose Stove Pipe Connection
There are several methods to secure a loose stove pipe connection, depending on the severity of the issue:
- Adjusting the Fitting: Sometimes, simply tightening the existing screws or clamps can solve the problem. Use a screwdriver to tighten any screws or a wrench for clamps.
- Adding a Connector: If the connection is still loose after tightening, consider using a connector like the Imperial Manufacturing Group Bm0049. This double-ended crimped union can help create a snug fit.
- Using High-Temperature Silicone Sealant: Apply high-temperature silicone sealant around the connection points. This can fill gaps and provide a secure bond. Ensure it’s rated for temperatures above 500°F.
- Replacing Sections of Pipe: If the pipe is damaged or too worn out, replacing the section may be necessary. Measure the length and diameter of the pipe required and cut accordingly.
Choosing the Right Method
When deciding which method to use, consider the following factors:
- Severity of the Loose Connection: Minor wiggles may only require tightening, while larger gaps may need a connector.
- Tools at Your Disposal: Do you have the necessary tools for tightening, sealing, or replacing pipe sections?
- Material Compatibility: Ensure any sealant or connector used is compatible with the stove pipe material to avoid further issues.
Comparison of Fixing Methods
| Method | Ease of Use | Materials Needed | Longevity |
|---|---|---|---|
| Adjusting the Fitting | Easy | Screwdriver, Wrench | Short-term |
| Adding a Connector | Moderate | Connector Union | Long-term |
| Using Silicone Sealant | Moderate | High-Temperature Sealant | Moderate |
| Replacing Sections | Challenging | Replacement Pipe | Long-term |
Frequently Asked Questions
1. What tools do I need to fix a loose stove pipe connection?
Basic tools include a screwdriver and a wrench for tightening fittings. For sealant, you’ll need a caulking gun to apply the silicone sealant correctly.
2. How often should I check my stove pipe connections?
Inspect your stove pipe connections at least once a season, especially before heavy usage in winter months. Regular checks can help catch issues early.
3. Can I use regular silicone sealant for stove pipes?
No, you should use high-temperature silicone sealant specifically rated for stovepipe applications. Regular sealants may not withstand the heat and could break down.
4. What should I do if the stove pipe is damaged?
If the pipe shows signs of rust, holes, or major wear, it’s best to replace the damaged section. Measure the length accurately for a proper fit.
5. Is it safe to use my sauna if the stove pipe connection is loose?
No, using your sauna with a loose stove pipe connection can lead to dangerous smoke leaks. Always fix the connection before operating the heater.
Final Thoughts for a Secure Sauna Experience
- Inspect your stove pipe connections regularly.
- Tighten any loose screws or clamps immediately.
- Consider using a connector like the Imperial Manufacturing Group Bm0049 for a secure fit.
- Apply high-temperature silicone sealant if needed.
- Replace damaged sections of the stove pipe promptly.
- Always prioritize safety when using your sauna.
- For more information on related topics, check out outdoor sauna tips.