 Heating Green - Infrared Radiant Cove HeaterWatch on YouTube
Introduction
Imagine sitting in your living room during a chilly winter evening, wrapped in a blanket, and still feeling the cold creeping through the walls. This is a common scenario for many homeowners, especially those in older houses where heating can be inconsistent. A cove heater can provide the warmth needed to create a comfortable environment, especially in those hard-to-heat spaces. If you’re considering installing one, you’re in the right place.
This guide will walk you through the complete process of installing a cove heater, ensuring you have all the information to do it safely and effectively. You’ll learn about the tools required, step-by-step installation instructions, and common pitfalls to avoid. By the end of this article, you’ll be equipped to install your cove heater confidently.

Amaze-Heater
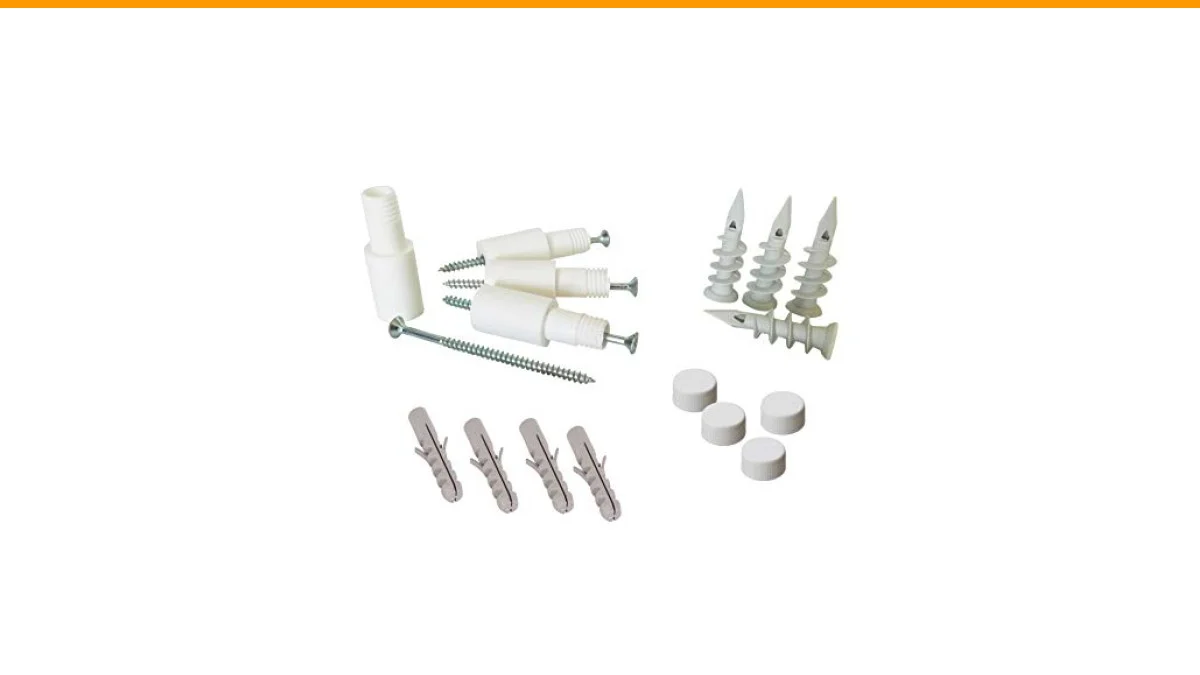
Amaze-Heater Hardware Installation Kit
- Compatible with all Amaze-Heater Wall Panel Convection Heaters
- Original Manufacturers Replacement Part
- Includes All Items Shown
To help with your installation, consider the Amaze-Heater Hardware Installation Kit. This kit is compatible with all Amaze-Heater Wall Panel Convection Heaters and includes all necessary items for a streamlined installation process.
Understanding Cove Heaters
Cove heaters are a type of radiant heating system installed near the ceiling. They work by radiating heat downward, warming objects and people in the room. Unlike traditional heating systems, cove heaters provide efficient and gentle warmth, making them an excellent choice for spaces that need consistent heating.
Here are a few key advantages of cove heaters:
- Energy efficiency: Cove heaters can reduce energy costs by providing direct warmth where needed.
- Space-saving design: These heaters are installed high up, freeing up floor space.
- Even heat distribution: They warm the space uniformly, minimizing cold spots.
Tools and Materials Needed
Before starting your installation, gather the necessary tools and materials:
- Drill
- Screwdriver
- Level
- Measuring tape
- Pencil
- Stud finder
- Wire connectors
- Cove heater unit
- Amaze-Heater Hardware Installation Kit (optional but recommended)
Step-by-Step Installation Process
Follow these steps to install your cove heater safely:
- Choose the Location: Select a wall near a power source, ideally in an area where heat is needed.
- Measure and Mark: Use your measuring tape to determine where the heater will be installed. Mark the position with a pencil, ensuring it’s level.
- Find the Studs: Use a stud finder to locate wall studs for secure mounting. Mark these locations.
- Mount the Heater Bracket: Attach the mounting bracket to the wall using screws. Ensure it’s level and securely fastened to the studs.
- Connect the Wiring: Follow the manufacturer’s instructions to connect the wiring. Use wire connectors to secure connections. Ensure the power is off during this step.
- Install the Heater: Place the cove heater onto the mounted bracket and secure it according to the instructions.
- Power On: Restore power to the heater and test its functionality. Adjust the thermostat as needed.
Pro tip: Take your time with measurements. An accurate installation will ensure the heater operates efficiently and safely.
Comparison of Cove Heater Installation Methods
| Method | Pros | Cons |
|---|---|---|
| DIY Installation | Cost-effective, control over the process | Requires tools, potential for errors |
| Professional Installation | Expertise ensures safety, no worries about mistakes | Higher cost, scheduling required |
| Using Installation Kit | Includes all necessary parts, simplifies the process | May require additional tools, initial cost for the kit |
Frequently Asked Questions
1. How do I know if a cove heater is right for my space?
Consider the size of the room and your heating needs. Cove heaters are effective in small to medium spaces but may not heat larger areas efficiently.
2. Can I install a cove heater myself?
Yes, many homeowners successfully install cove heaters themselves. Just follow the manufacturer’s instructions carefully and ensure you have the right tools.
3. What is the average installation time for a cove heater?
Typically, installation takes about 1-2 hours, depending on your experience and the complexity of the installation.
4. How do I maintain my cove heater?
Regularly inspect the heater for dust buildup and ensure that the wiring is intact. Cleaning the exterior with a damp cloth can also help maintain efficiency.
5. Is it safe to install a cove heater in a bathroom?
It’s generally not advisable to install cove heaters in bathrooms due to moisture. Check local building codes and consult an electrician for guidance.
Final Thoughts
- Choose an appropriate location for the heater.
- Gather all necessary tools before starting.
- Follow step-by-step installation instructions carefully.
- Consider using an installation kit for ease.
- Test the heater after installation to ensure it functions properly.
- Keep the area around the heater clear for safety.
- Regular maintenance will extend the heater’s lifespan.


