Introduction
Imagine stepping into your wood-burning sauna after a long day, only to find water stains creeping down the walls. This is a common scenario for sauna owners, especially if the chimney pipe isn’t properly flashed. Flashing refers to the material that directs water away from critical areas like the chimney, ensuring that your sauna remains dry and protected from leaks.
This article will guide you through the process of flashing the chimney pipe on a wood-burning sauna roof. You’ll learn about the materials needed, step-by-step instructions for installation, and maintenance tips to keep your sauna in prime condition. Additionally, we’ll highlight a useful product that can aid in sealing your chimney flashings.
MasonryDefender
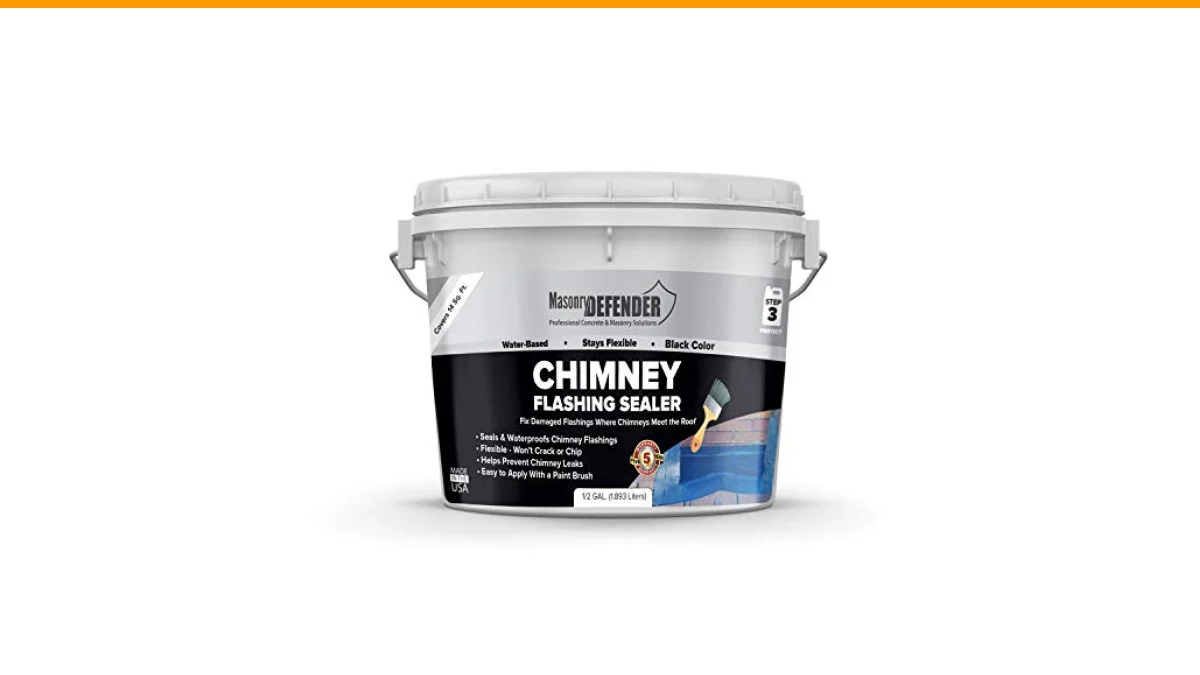
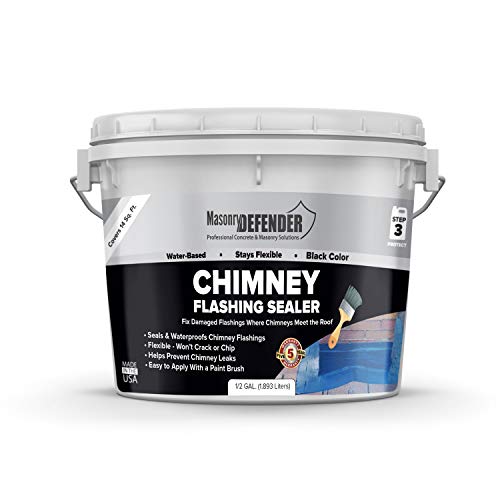
MasonryDefender Chimney Flashing Sealer - Flexible Chimney Sealant Protects Against Water Leaks - 2.2 kg
- SEALS CHIMNEY FLASHINGS: Creates a waterproof barrier to stop water penetration where chimney meets roof line. Ideal for chimney f…
- FLEXIBLE LONG-LASTING SEAL: Won't crack or chip. This chimney sealer stays flexible over time and resists becoming brittle, ensuri…
- PREVENTS CHIMNEY LEAKS: Helps prevent leaks at the roofline by sealing vulnerable areas fast. Use as a chimney waterproofing seala…
One such product is the MasonryDefender Chimney Flashing Sealer. This flexible sealant creates a waterproof barrier where the chimney meets the roof, helping to prevent leaks and water damage.
Understanding Chimney Flashing
Chimney flashing consists of metal or other materials designed to prevent water from seeping into the roof around the chimney. There are typically two types of flashing involved: base flashing and counter flashing. Base flashing is installed at the base of the chimney, while counter flashing is set into the chimney itself, overlapping the base flashing. Both are essential for effective water management.
Proper flashing is crucial because water leaks can lead to mold, wood rot, and even structural damage. If your sauna is located in an area with heavy rainfall or snow, the need for effective flashing becomes even more pressing.
Materials Needed for Flashing
Before starting, gather the necessary materials:
- Sheet metal (copper, aluminum, or galvanized steel)
- Flashing sealant like the MasonryDefender product
- Roofing cement
- Metal snips
- Caulking gun
- Measuring tape
- Hammer and nails (or screws)
- Protective gloves and eyewear
Investing in high-quality materials will provide better long-term results. For instance, copper flashing is durable but more expensive, while galvanized steel is a cost-effective alternative.
Step-by-Step Guide to Flashing the Chimney Pipe
Follow these steps to properly flash your chimney pipe:
- Assess the Existing Flashing: Before you begin, inspect the existing flashing for any signs of wear or damage. If it’s cracked or rusted, it needs to be replaced.
- Measure and Cut the Flashing: Measure the dimensions around the chimney. Cut the sheet metal to size using metal snips, ensuring it’s long enough to extend several inches beyond the chimney on all sides.
- Install Base Flashing: Position the base flashing around the chimney, ensuring it lies flat against the roof. Secure it with roofing nails or screws, and apply roofing cement at the edges to seal it against water intrusion.
- Add Counter Flashing: Install counter flashing by embedding it into the chimney masonry. It should overlap the base flashing. Use a caulking gun to apply roofing cement along the joint where the counter flashing meets the chimney.
- Seal the Joints: Apply the MasonryDefender Chimney Flashing Sealer around the base and at all joints. This flexible sealant provides an additional layer of protection against leaks.
- Inspect and Maintain: Once installed, inspect the flashing regularly. Look for signs of wear or deterioration and reapply sealant as needed.
Completing these steps will significantly reduce the risk of leaks around your chimney.
Maintenance Tips for Your Chimney Flashing
Regular maintenance is key to ensuring your chimney flashing remains effective. Here are some tips to help you:
- Inspect flashing at least twice a year, especially after severe weather.
- Watch for water stains inside your sauna or around the chimney base.
- Clean debris from the roof and chimney area to prevent water pooling.
- Reapply sealant or roofing cement as necessary, especially after harsh winters.
- Consider hiring a professional if you notice extensive damage or leaks.
Maintaining your chimney flashing will save you from costly repairs down the line. A little effort goes a long way.
Comparing Flashing Options
| Material Type | Durability | Cost | Installation Difficulty |
|---|---|---|---|
| Copper | Very High | High | Moderate |
| Aluminum | Moderate | Low | Easy |
| Galvanized Steel | High | Moderate | Moderate |
| Vinyl | Low | Very Low | Easy |
This table highlights various flashing material types, helping you choose the right one based on your budget and installation preferences.
FAQs
1. How often should I check my chimney flashing?
Inspect your chimney flashing at least twice a year and after heavy storms to catch any damage early.
2. Can I install chimney flashing myself?
Yes, if you have basic handyman skills and tools, you can install chimney flashing. However, complex roofs may require a professional.
3. What is the best sealant for chimney flashing?
The MasonryDefender Chimney Flashing Sealer is an excellent choice, as it stays flexible over time and prevents leaks.
4. How do I know if my chimney is leaking?
Look for water stains on walls, ceilings, or around the chimney base. Mold growth is another sign of a leak.
5. Is copper flashing worth the investment?
Copper flashing is durable and can last for decades, making it a worthwhile investment for long-term protection.
Final Thoughts
- Understand the importance of proper chimney flashing to prevent leaks.
- Gather all necessary materials before starting the installation.
- Follow the step-by-step guide to ensure effective flashing.
- Use the MasonryDefender sealant for long-lasting protection.
- Regular inspections and maintenance are crucial for longevity.
- Choose the right material based on your budget and needs.
- Don’t hesitate to hire a professional for complex installations.