Installing a line voltage thermostat can be an effective way to control the temperature in your home, especially if you use electric baseboard heaters or fan-forced heaters. Many homeowners find themselves frustrated with traditional thermostats that don’t provide the level of control they need for their heating systems. In this article, you’ll learn not only how to install a line voltage thermostat but also how to choose the right one, like the meross Matter Smart Thermostat for Electric Baseboard Heaters, which offers unique features for better energy management.
This guide will walk you through the installation process, the tools you’ll need, and some common pitfalls to avoid. You’ll also find answers to frequently asked questions, making this resource a comprehensive reference for your project.
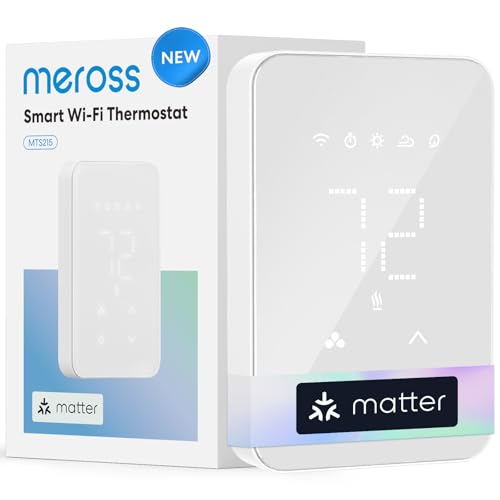
meross
meross Matter Smart Thermostat for Electric Baseboard Heaters | WiFi Programmable Thermostat Works with HomeKit, Alexa, Google Home & SmartThings | 120-240V | Energy Saving | Remote Control
- 🔔Compatibility Notice: Designed for high-line voltage (120 - 240 VAC) electric heating systems, such as baseboard, Convector, and…
- 🛜Universal Matter Compatibility:Works seamlessly with Alexa, Apple Home, Google Home, SmartThings and more—all at once. No more ec…
- ⏰Smart Scheduling & Energy Savings:Set it and forget it. Automate your home's temperature to save energy while you're asleep or aw…
What is a Line Voltage Thermostat?
The line voltage thermostat is a device that controls electrical heating systems by regulating the voltage supplied to the heaters. These thermostats typically work with voltages between 120 and 240 volts, making them suitable for various heating systems.
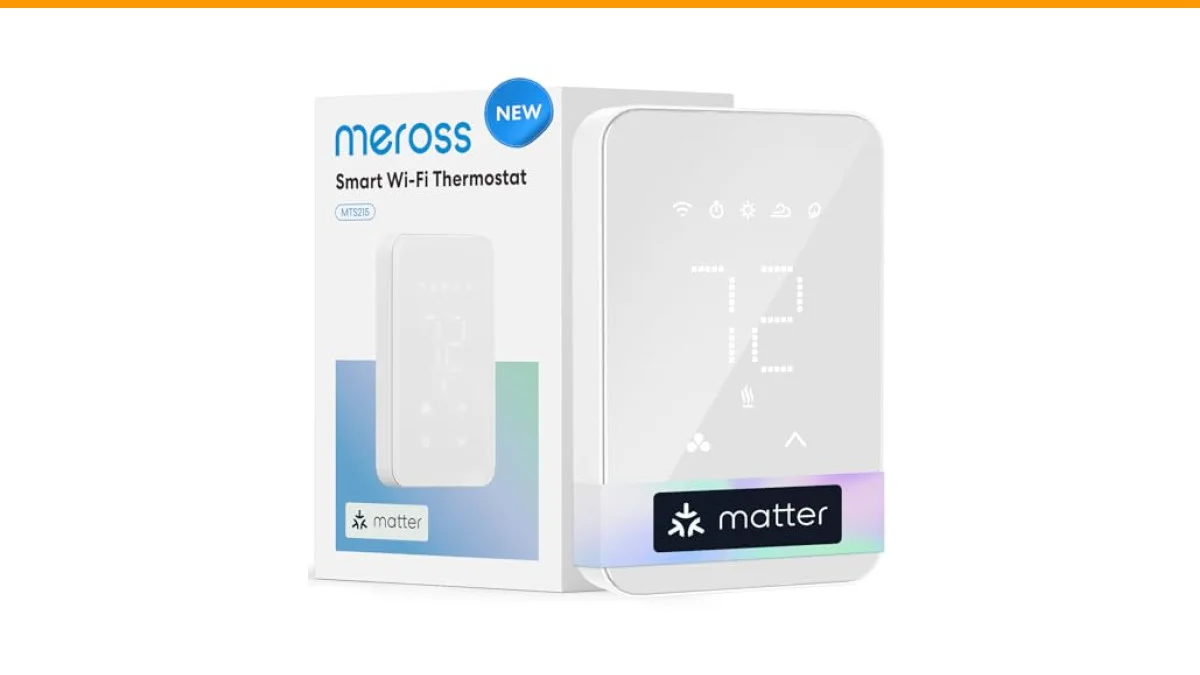
The meross Matter Smart Thermostat is designed specifically for high-line voltage systems, ensuring compatibility and ease of use. It connects with smart home systems and offers features like energy monitoring and scheduling, which can enhance your heating experience.
 How to Wire Your Line Voltage ThermostatWatch on YouTube
Tools and Materials Needed
Before you begin the installation process, gather the following tools and materials:
- Line voltage thermostat
- Screwdriver (flat and Phillips)
- Wire stripper
- Voltage tester
- Electrical tape
- Drill (if necessary for mounting)
- Level (optional for accuracy)
Safety Precautions
Safety should be your top priority when working with electricity. Make sure to:
- Turn off the power to the heating system at the circuit breaker.
- Use a voltage tester to ensure that the power is off before touching any wires.
- Wear insulated gloves while handling electrical components.
Step-by-Step Installation Process
Follow these steps for a successful installation:
1. Remove the Existing Thermostat
Begin by unscrewing the cover of your current thermostat. Carefully disconnect the wires attached to the old unit. Take a note of how the wires are connected, as you’ll need this information for the new installation.
2. Prepare the New Thermostat
Before mounting the new thermostat, strip the ends of the wires if necessary. Most thermostats will have clear labeling for the connection points. Typically, you will find terminals for Line (L), Load (L1), and sometimes a Ground (G) terminal.
3. Connect the Wires
Connect the wires from your heating system to the corresponding terminals on the new thermostat. Ensure that you follow the manufacturer’s instructions carefully. For example, connect the Line wire to the L terminal and the Load wire to the L1 terminal. If there is a ground wire, connect it to the G terminal.
4. Mount the Thermostat
Once the wiring is secured, mount the thermostat to the wall. Use a level to ensure it’s straight. Secure it with screws if necessary, and replace any covers or plates.
5. Restore Power and Test
Go back to the circuit breaker and turn the power back on. Test the thermostat by adjusting the temperature settings to see if the heating system responds correctly.
Comparison of Thermostat Features
| Feature | meross Matter Smart Thermostat | Traditional Line Voltage Thermostat |
|---|---|---|
| Smart Home Compatibility | Yes (Alexa, Google Home, etc.) | No |
| Energy Monitoring | Yes | No |
| Scheduling | Yes | No |
| Open Window Detection | Yes | No |
| Voltage Compatibility | 120-240 VAC | 120-240 VAC |
Frequently Asked Questions
What is the difference between line voltage and low voltage thermostats?
Line voltage thermostats control heating systems that operate at 120-240 volts, while low voltage thermostats typically operate at 24 volts, used mainly in central heating and air conditioning systems.
Can I install a line voltage thermostat myself?
Yes, if you have basic electrical skills and follow safety precautions, installing a line voltage thermostat can be done as a DIY project. Always consult the manual for your specific thermostat.
How do I know if I need a line voltage thermostat?
If your heating system uses electric baseboard or wall heaters, you likely need a line voltage thermostat. Check the wiring and voltage of your current thermostat to confirm.
What should I do if my thermostat isn’t working?
First, ensure that the power is on and check the connections. If it still doesn’t work, consult the manufacturer’s manual or consider hiring a professional electrician.
Can I use a smart thermostat for my line voltage system?
Yes, smart thermostats like the meross Matter Smart Thermostat are designed to work with line voltage systems, providing added features like scheduling and remote access.
Final Thoughts
- Gather all necessary tools before starting your installation.
- Always turn off the power at the circuit breaker.
- Follow the manufacturer’s instructions for wiring connections.
- Consider a smart thermostat for added features and energy savings.
- If in doubt, consult a professional electrician for assistance.
- Regularly check and maintain your thermostat for optimal performance.
- Explore other resources, such as installation guides for further help.

